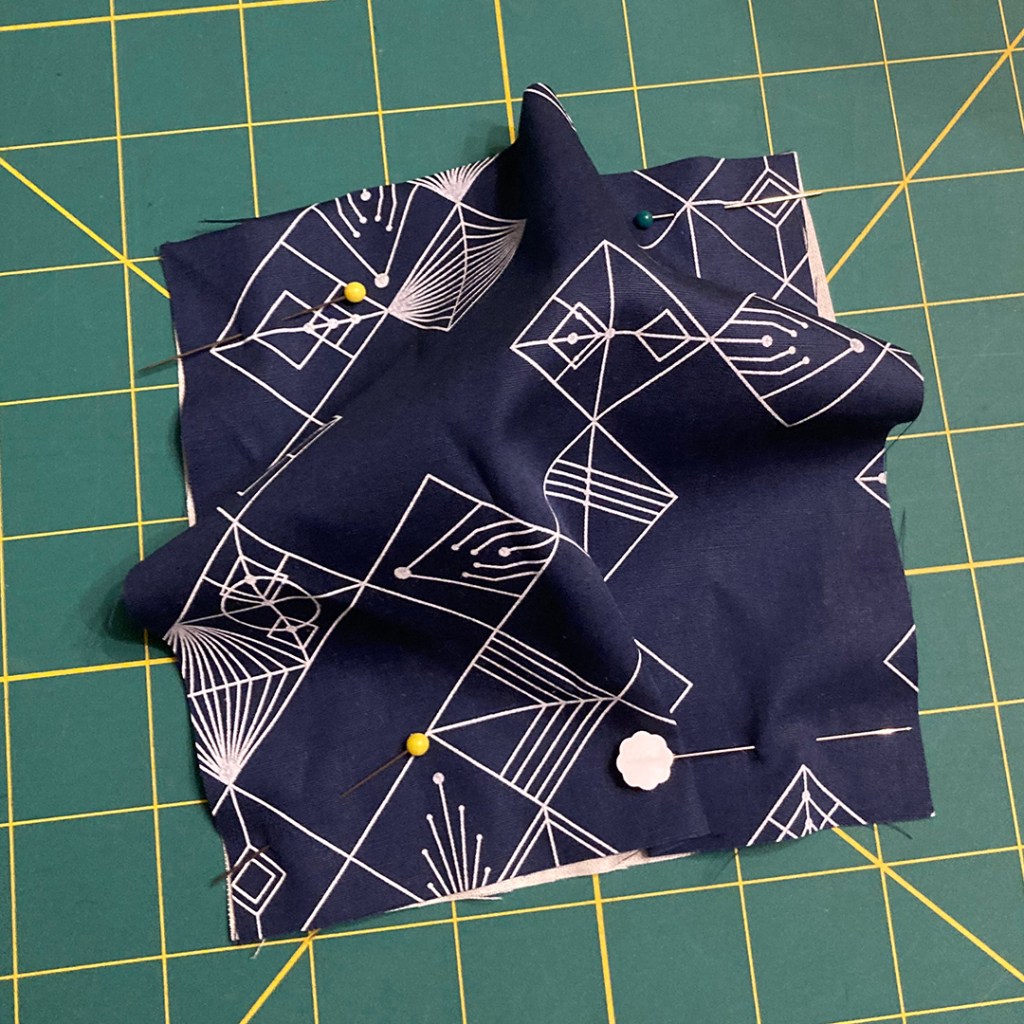
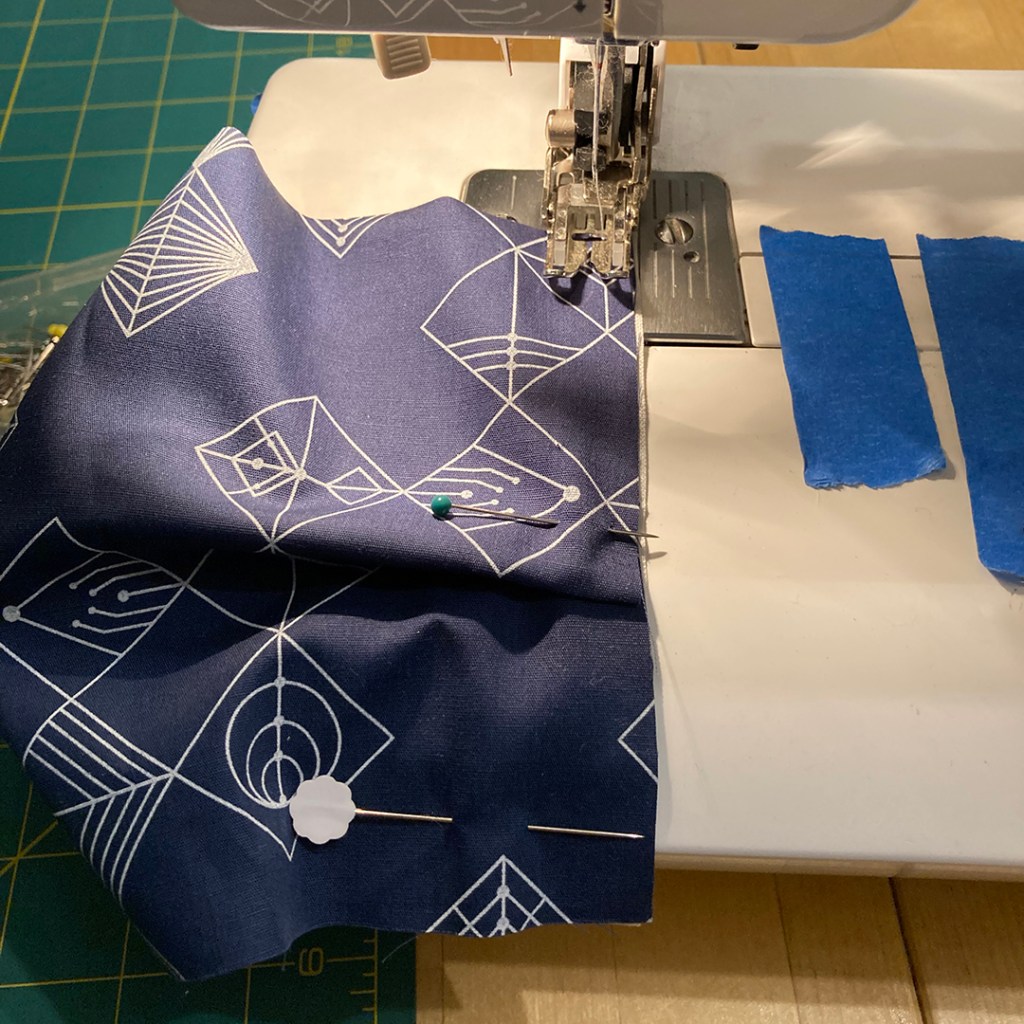
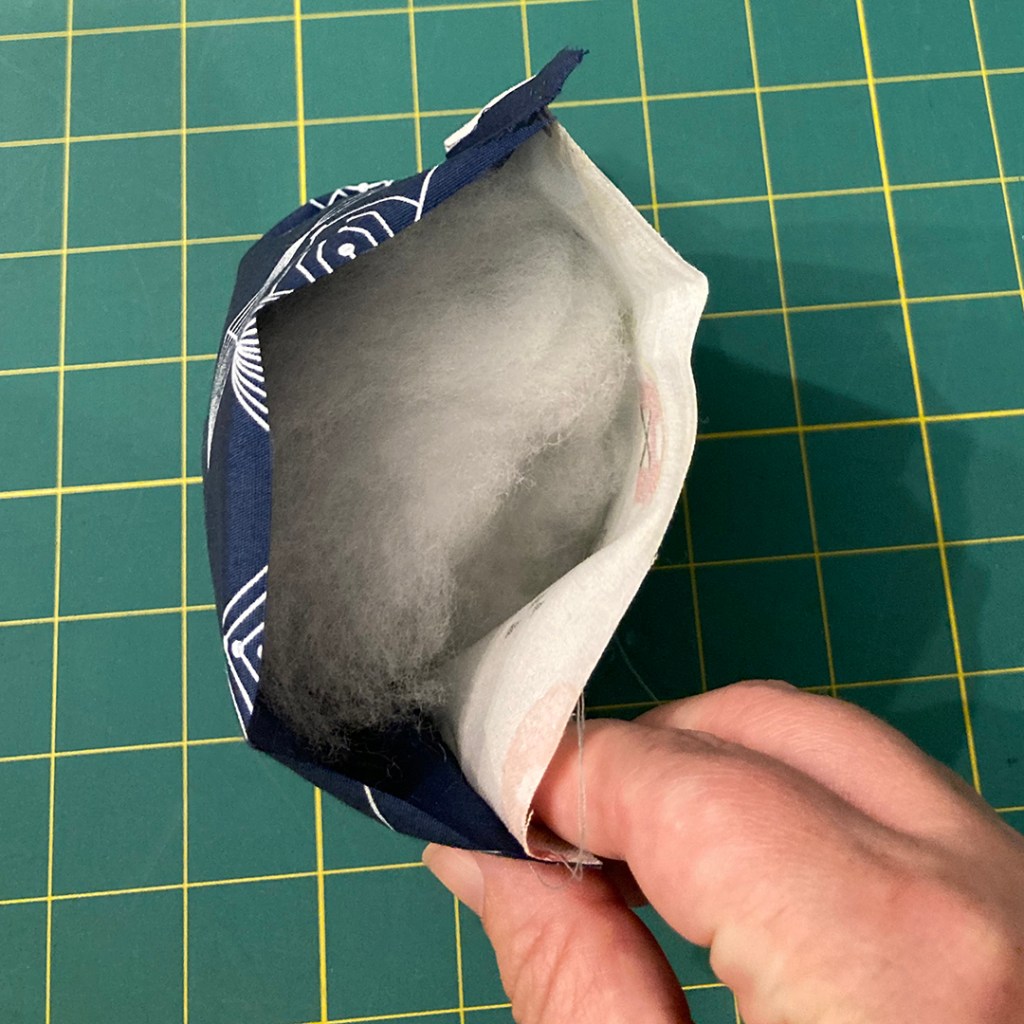
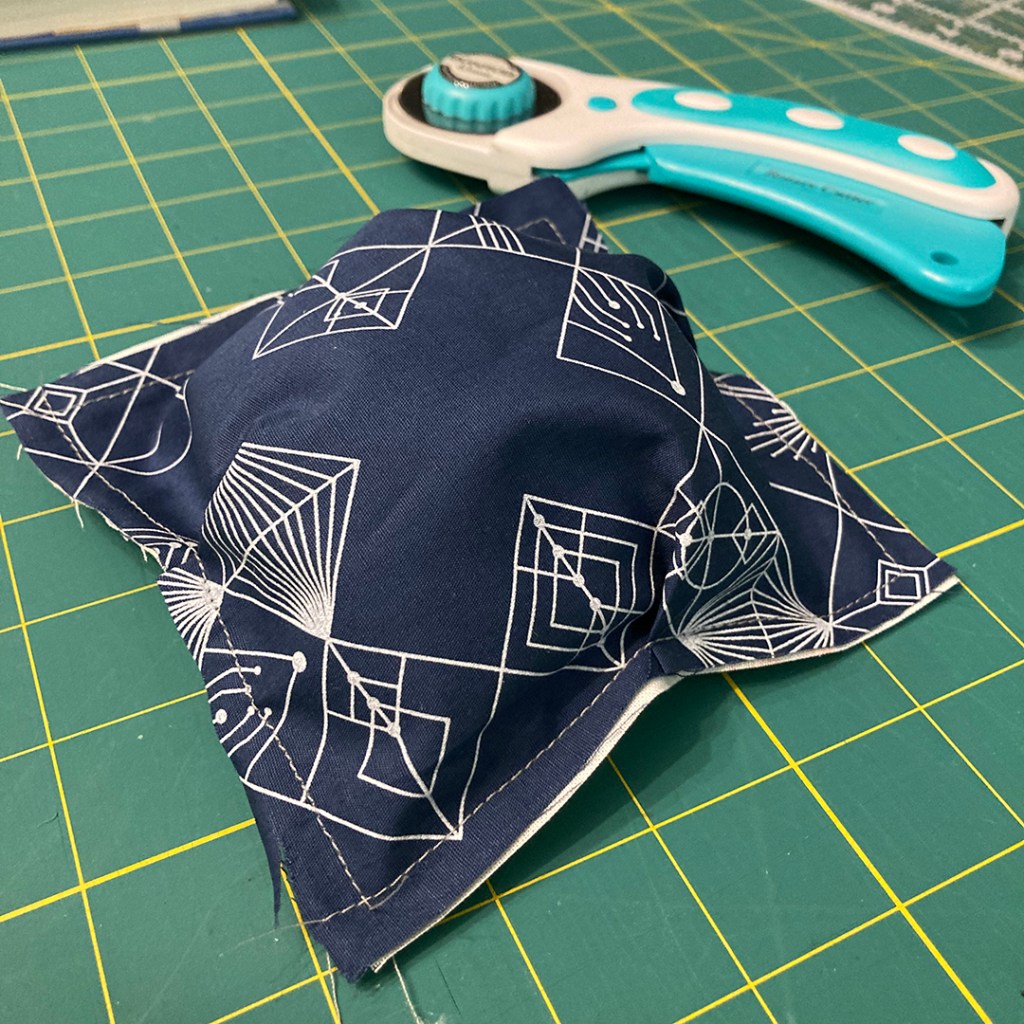
The September block is inspired by the Japanese art of Kintsugi.
At the September meeting, Kelly provided participants with a metallic gold fabric and instructed them to piece together errant pieces of fabric, using the gold as a connective “repair”.
These blocks are due at the October 27th, 2022 meeting. Each block turned in at the meeting counts for one entry to win all the August blocks. Only blocks made with kits purchased at the September meeting will be eligible for entry.
These blocks are due at the September 19, 2022 meeting. Each block turned in at the meeting counts for one entry to win all the August blocks. Only blocks made with kits purchased at the August meeting will be eligible for entry.
The July block is the Disappearing Nine Patch block! These blocks were inspired by our guest lecturer Bill Stearman, who uses them prolifically in his work.
These blocks are due at the August 25, 2022 meeting. Each block turned in at the meeting counts for one entry to win all the July blocks. Only blocks made with kits purchased at the July meeting will be eligible for entry.
The June block is the Puff block! Kelly will be selling these again at the July meeting.
These blocks are due at the August 25, 2022 meeting. Each block turned in at the meeting counts for one entry to win all the June blocks. Only blocks made with kits purchased at the June meeting will be eligible for entry.
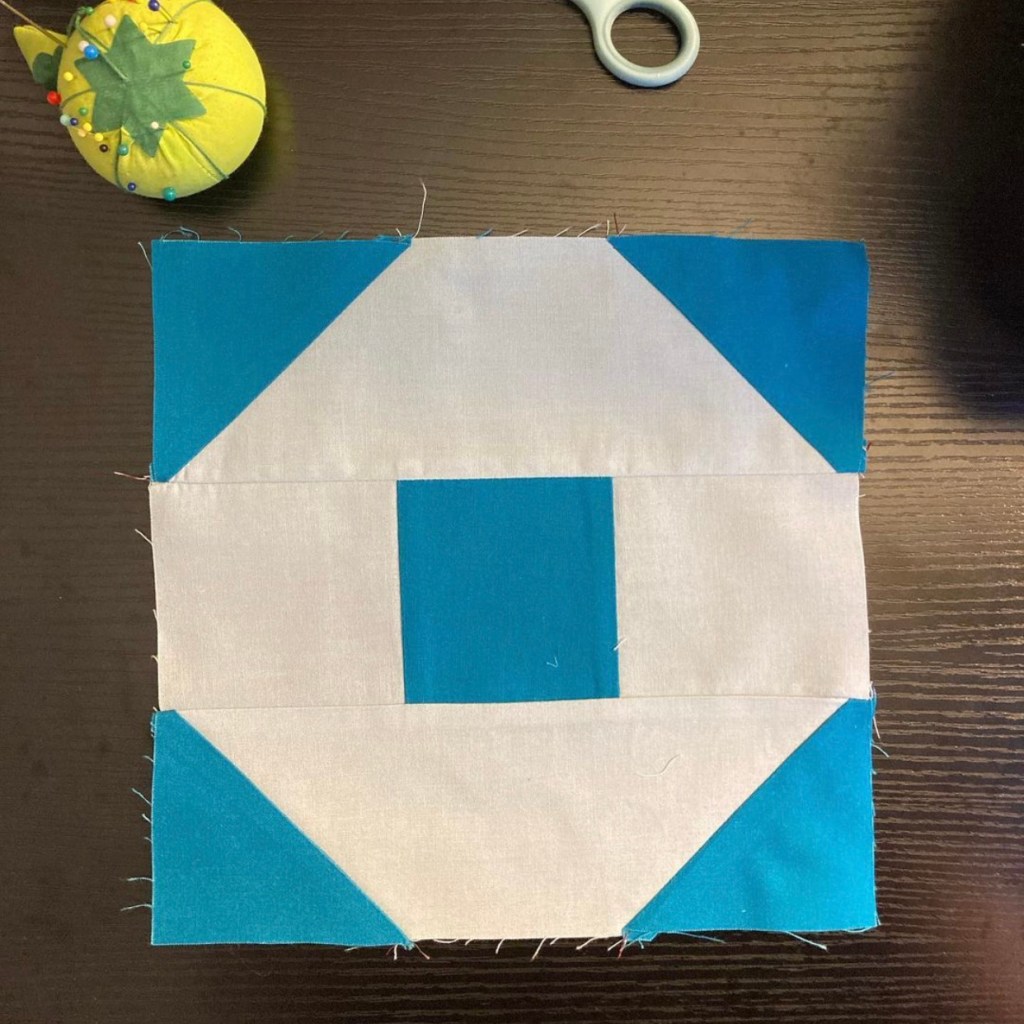
In your kit you will have two color fabrics. Both are blue or green shades.
In one color you will have two strips.
You will have just one strip of the second color. (3.5 inch wide by ~18 inches)
Some of the square circles will have dark centers, some will have light centers, and some will have similar tones so don’t be distressed if your colors don’t match the photo below.
Instructions
1) From the two strips of fabric you have, cut two 9.5-inch strips and one 3.5-inch square. From the single piece of fabric, cut five 3.5-inch squares.
2) Place a square on each end of the 9.5-inch strips. Draw a diagonal line from corner to corner. Sew on the diagonal line. Press the seam. Trim off the excess (similar to HSTs). Repeat for the second 9.5-inch strip.
3) For the center row, sew three squares together in a row. (Center square will match the corners).
3) Join the rows together to make your Square Circle. Press to the dark side.
These blocks are due at the June 30, 2022 meeting. Each block turned in at the meeting counts for one entry to win all the May blocks.
Pojagi is an ancient Korean textile art form. The first documented mention of it was in AD 42, so it is about 2,000 years old – much older than western quilting. A pojagi (po) is a cloth that is used to wrap, carry and store things. Reversible patchwork is the most unique option of pojagi. It is very different from western quilting because the seam are finished on both sides. The best way to view these items is with light shining through them. It gives the impression of stained glass. Designs tend to be geometric and random rather than the shapes and repeating designs of western quilts. The techniques involved in pojagi are now used for many things beyond wrapping cloths. You can see them in table linens, clothing, and other decorative pieces. (Source – Epida Studio)
Instructions
1) Take a piece of the linen. Have another scrap of the same length. Have one fabric have a larger seam allowance than the other fabric (if top fabric is ¼ inch, have the bottom piece poke out a ¼ more (1/2-inch total).
2) Sew the pieces together. (Alternatively, sew a ½ inch seam. Once sewn, trim one of the two ½ seams to ¼ inch so you can fold the larger seam over the smaller seam.)
3) Press the fatter bottom seam allowance over the raw edge of the top shorter seam allowance.
3) Press the fatter bottom seam allowance over the raw edge of the top shorter seam allowance.
4) Open the seam. You will fold the fat seam over the raw edge of the short seam. Topstitch down.
5) On one side of the finished piece, you see two stitching lines. On the other side, you only see one stitching line, but the seam is finished on both sides. All the raw edges are tucked away inside. – This is very similar to flat fell seam used in garment sewing, like on jeans.
Sources
For more information straight from the source, please see:
Each kit includes three pre-cut hexagons in neutral colors and a rectangle of printed taupe fabric.
Out of the taupe rectangle, cut six equilateral triangles. These should be 2.25-inch triangles.
Sew the triangles on opposite sides of the hexagon. Repeat with the other two hexagons. Once you have sewn on the triangles, you may need to trim dog ears. You should have 3 diamond shaped blocks once you have sewn the printed triangles to the solid hexagon.
Once all diamonds are complete, sew each of them together, matching points in a row with the hexagons. The end result will be a hexagon quilt with no Y seams!
There are so many ways make half square triangles! Try one of these techniques, hopefully at least one is new to you!
Since we are meeting on Zoom this month, our January block lotto is free to all members, as you’ll supply your own fabric.
COLORS: Please use solid fabrics. Everyone is picking their own fabrics, so let’s stick to solids so the final contributions will be able to work together.
We would highly suggest using dark and light of the same color, for example try:
Navy Blue and Sky Blue
Royal Purple and Lavender
Forest Green and Mint Green
SIZE: There’s no limit to the size of half square triangle you’d like to make! You can choose any size HST. Let’s aim for that an be trimmed and squared up to inch increments (finished HSTs of 2 inch, 3 inch, 4 inch, and so on). Therefore, your block would 2.5 inch, 3.5 inch, or 4.5 when turning in at the March meeting.
The challenge for August is IMPROV! You can create any shape or design you like. Let the fabric inspire you. However, if you are stuck some inspiration and online tutorials follow.
Choose your background fabric square. Next, choose two cross fabric strips. Cutting with a ruler or cutting freehand, slice a straight line through your background square. The line can be going in any direction and at any angle. Next, sew a fabric strip in the opening you’ve cut. You’ll simply sew the strip to one side of the opening and then to the other. Press seams. Again, cut a straight line through your background square. The new cut should intersect your first strip at some point.


You must be logged in to post a comment.